How to harden SSH on a Linux server: a 15-minute checklist
Switch to keys, turn off passwords and root logins, limit who and where people can connect from, and test every change without locking yourself out. A practical SSH hardening checklist for Debian, Ubuntu, RHEL and Alpine.
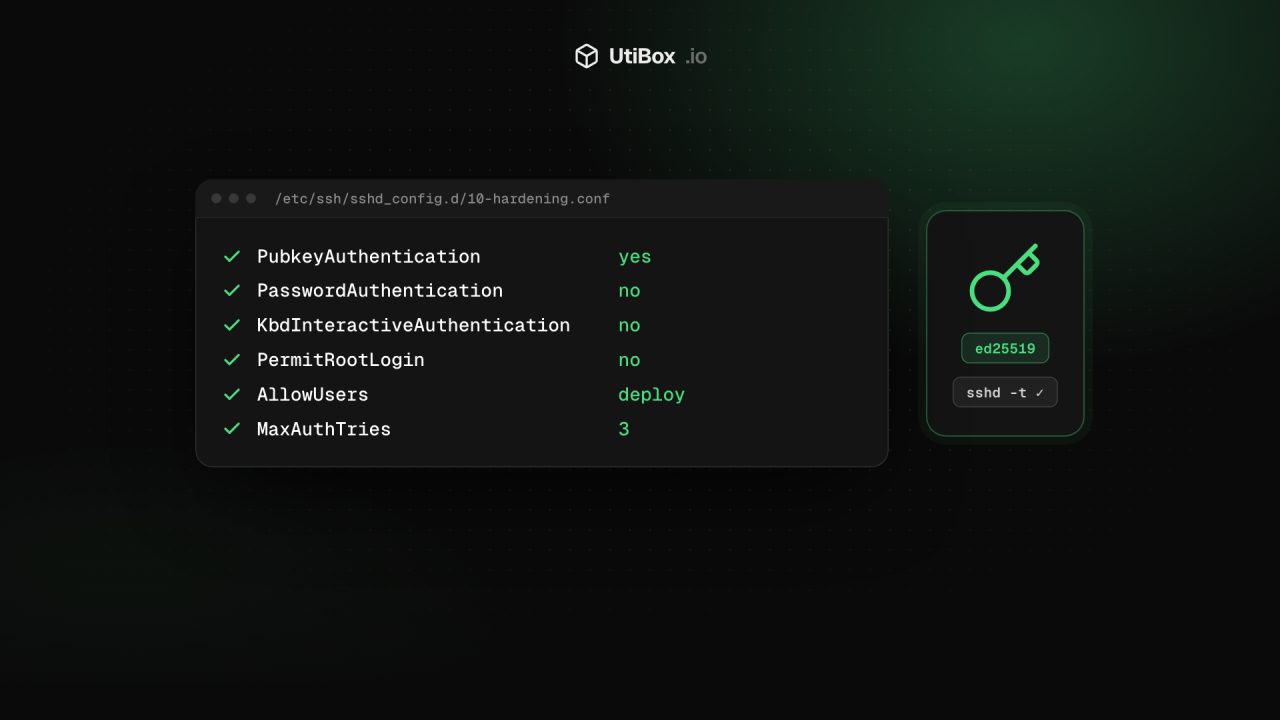
Illustration: UtiBox
Every server with SSH open to the internet is being tried, constantly, by bots guessing usernames and passwords. Bugs like the recent “sshole” password bypass show why password logins are worth switching off even when your passwords are strong.
This checklist takes about 15 minutes. It works on Debian, Ubuntu, Red Hat-family distributions and Alpine; where commands differ, both are shown.
1. Log in with a key instead of a password
On your own computer, create an Ed25519 key pair if you don’t already have one. Protect it with a passphrase; our Password Generator can make a long random one, and your password manager can remember it.
ssh-keygen -t ed25519 -C "you@laptop"Copy the public key to the server, then check that you can log in with it:
ssh-copy-id -i ~/.ssh/id_ed25519.pub deploy@your-server
ssh deploy@your-server
If you have a hardware security key (YubiKey, SoloKey and similar), use -t ed25519-sk instead. The private key then can’t be copied off the device, and every login needs a physical touch.
2. Put your settings in a drop-in file
Most current distributions (Debian, Ubuntu, Fedora, RHEL 9 and later, Alpine) load extra files from /etc/ssh/sshd_config.d/. Using one keeps your changes separate from the distribution’s defaults and safe from package upgrades. Check that your main config includes the folder (if this prints nothing, put the settings at the top of /etc/ssh/sshd_config instead):
grep -i '^Include' /etc/ssh/sshd_config# /etc/ssh/sshd_config.d/10-hardening.conf
PubkeyAuthentication yes
PasswordAuthentication no
KbdInteractiveAuthentication no
PermitRootLogin no
AllowUsers deploy
MaxAuthTries 3
LoginGraceTime 30
X11Forwarding noWhat each line does:
- PasswordAuthentication no / KbdInteractiveAuthentication no: keys only. This alone stops almost all brute-force attempts.
- PermitRootLogin no: log in as a normal user and use
sudo. Useprohibit-passwordinstead if automation genuinely needs root with a key. - AllowUsers deploy: only the listed accounts may log in over SSH at all. You can also use
AllowGroups. - MaxAuthTries 3 / LoginGraceTime 30: fewer guesses per connection, and less time to make them.
- X11Forwarding no: turn off what you don’t use.
3. Test the configuration before restarting
Check for typos, then confirm the settings sshd will actually use:
sudo sshd -t
sudo sshd -T | grep -Ei 'passwordauth|kbdinteractive|permitrootlogin|allowusers|maxauthtries'
If sshd -t prints nothing, the syntax is fine. Then restart the service:
sudo systemctl restart ssh      # Debian / Ubuntu
sudo systemctl restart sshd     # RHEL, Fedora, Rocky, Alma
sudo rc-service sshd restart    # Alpine
Now open a new terminal and log in again. Also try a password login, which should be refused:
ssh -o PubkeyAuthentication=no deploy@your-server4. Limit where people can connect from
If you always connect from a fixed address, such as an office, a VPN or a jump host, only allow SSH from there. Find your public address with What Is My IP, then on Ubuntu or Debian with UFW:
sudo ufw allow from 203.0.113.10 to any port 22 proto tcp
sudo ufw enable
sudo ufw status numbered
Add the allow rule before enabling the firewall. If your address changes often, a VPN such as WireGuard or Tailscale, or your cloud provider’s security groups, does the same job without hard-coding your home IP.
5. Slow down the bots with fail2ban
fail2ban watches your logs and temporarily blocks addresses that keep failing to log in. On Debian and Ubuntu the SSH jail is enabled by default once it’s installed:
sudo apt install fail2ban
sudo fail2ban-client status sshd
If the status command reports an error on a system that logs only to the systemd journal (no /var/log/auth.log, as on a minimal Debian 12), add backend = systemd under [sshd] in /etc/fail2ban/jail.local and restart fail2ban.
With password logins off, fail2ban mostly keeps your logs quiet, but quiet logs make the real problems easier to spot.
6. Keep OpenSSH updated, and restart it
Most SSH compromises don’t come from clever settings being missing. They come from old software. Turn on automatic security updates (unattended-upgrades on Debian and Ubuntu, dnf-automatic on RHEL-family systems) and remember that a running sshd keeps the old code until it’s restarted. Check your version with ssh -V.
7. Check who is getting in
Get used to reading your SSH logs, so unusual entries stand out:
sudo journalctl -u ssh --since "24 hours ago" | grep -E "Accepted|Failed"   # Debian / Ubuntu
sudo journalctl -u sshd --since "24 hours ago" | grep -E "Accepted|Failed"  # RHEL family
grep -E "Accepted|Failed" /var/log/messages                                 # Alpine
Look at ~/.ssh/authorized_keys for every user from time to time, too. A key you don’t recognise is a key someone else added.
What about changing the port?
Moving SSH from port 22 to something else cuts down log noise from the laziest bots, but it isn’t real security: scanners find other ports quickly. It’s fine to do, but it doesn’t replace any of the steps above. On Ubuntu, which starts SSH through systemd socket activation, follow Ubuntu’s documentation if you change the port.
The checklist
- Ed25519 (or hardware-backed) key with a passphrase
PasswordAuthentication noandKbdInteractiveAuthentication noPermitRootLogin noAllowUsersorAllowGroupssetsshd -tpasses andsshd -Tshows the values you expect- Firewall limits port 22 to known addresses, or a VPN
- fail2ban (or similar) installed
- Automatic security updates on, and sshd restarted after updates
- Logs and
authorized_keysreviewed regularly
Related


More from Guides

Heading structure: one H1, no skipped levels, and why it matters
Headings are how readers skim a page and how assistive technology moves around it. Here’s what the HTML standard and WCAG ask for, what Google actually says about headings, and how to check any…

How to write titles and meta descriptions that fit Google’s search results
Google cuts titles and snippets to fit the screen, and sometimes writes its own. Here’s what Google’s documentation actually says, and how to draft, count and check yours before and after a page…

UUIDs explained: v4 vs v7, and when to use them as database IDs
A UUID is a 128-bit ID anyone can create without asking a central server. Here’s how to read one, the difference between random version 4 and time-ordered version 7, and when a UUID is the right…


